eSIMs are a game-changer in the way we stay connected while traveling! eSIMs, or electronic SIM cards, are quickly becoming a popular choice for travelers around the globe. Why? They’re super convenient, easy to set up, and you don’t need to swap out physical SIM cards from your phone.
So, why are eSIMs a big deal for Bali-goers? Imagine landing in Bali, and instead of searching for a local SIM card shop, you’re already set up with internet on your phone. That’s the magic of eSIMs! They let you arrange your mobile data plan before you even pack your bags, giving you one less thing to worry about on your travels. You can also do it at the airport
In this guide, we’ll dive into the world of eSIMs in Bali. We’ll explore what they are, how they work, and why they might just be your best travel buddy for your next Bali adventure. Whether you’re a tech whiz or new to the eSIM game, we’ve got you covered with all the info you need to make your Bali trip smooth and connected. Let’s get started!
eSim Explained
What is an eSIM?
An eSIM, or electronic SIM, is like a regular SIM card, but with a twist. It’s built right into your phone. You don’t need a tiny physical card to put in your phone anymore. Instead, an eSIM is a small chip that’s already inside your phone. It does everything a regular SIM card does, but it’s all digital.
eSIM vs. Physical SIM Cards
So, what’s the difference between an eSIM and a physical SIM card? Here are the key points:
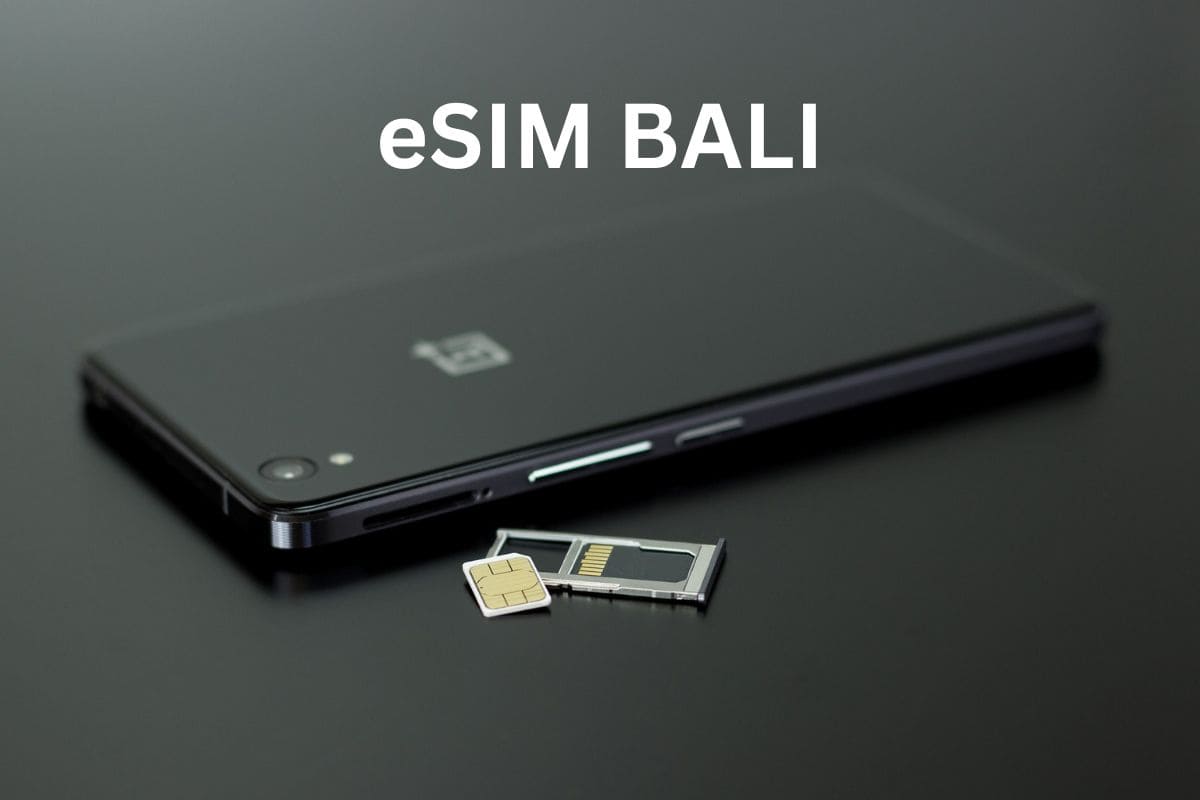
- Physical SIM Cards: These are the tiny cards you insert into your phone. You might have swapped them when traveling to use a local network.
- eSIMs: They are built into your phone. You can activate them with a simple QR code from your eSIM provider. No more swapping tiny cards!
Advantages of Using an eSIM for Travelers
Travelers love eSIMs for many reasons:
- Convenience: You can set up your eSIM before you even leave for your trip. No more hunting for a SIM card shop after you land.
- Multiple Plans: You can have more than one plan on an eSIM. This means you can keep your home number and add a travel data plan.
- Easy Switching: Switching between plans is easy. You can do it right from your phone’s settings.
In Bali, where staying connected is key to a smooth trip, an eSIM can be a real game-changer. You can start using your phone right after you land, without the hassle of finding and setting up a local SIM card. Plus, with an eSIM, you’re ready to explore Bali’s beautiful beaches, temples, and markets, all while staying connected!
Why Consider an eSIM for Your Bali Trip?
Pre-Purchase and Easy Setup
One of the biggest perks of an eSIM is how easy it makes your travel prep. You can buy and set up your eSIM before you even pack your suitcase. This means, as soon as your plane touches down in Bali, you’re all set with internet on your phone. No more waiting in lines at the airport or searching for a local SIM card shop. It’s all about starting your Bali adventure the moment you arrive, hassle-free.
Real Experiences from Users
People who’ve traveled to Bali and used eSIMs have shared their stories online, and they’re pretty happy with their experiences. Many say that eSIMs are super convenient, especially for staying connected from the get-go. A traveler told how they loved being set up with internet right after landing, making their transit to the hotel a breeze. Another user mentioned the ease of using apps like WhatsApp for calls and messages, thanks to their eSIM’s reliable data connection.
Keep Your Original Number
Another great thing about eSIMs? You can keep your usual number active. This is perfect for those who want to stay reachable on their regular number while using data from the eSIM in Bali. It’s like having the best of both worlds – your familiar number for calls and a local data plan for all your internet needs. No more juggling two phones or worrying about missing important calls from back home.
In summary, an eSIM offers a blend of convenience, connectivity, and flexibility that’s hard to beat for travelers. It lets you dive into your Bali experience with one less thing to worry about, keeping you connected and ready to explore this beautiful island.
Popular eSIM Options for Bali
When it comes to choosing an eSIM for your Bali trip, there are several great options out there. Let’s take a look at some popular providers like Airalo and Bikago, and see what they offer. We’ll also check out what online users have to say about their experiences.
Overview of eSIM Providers
- Airalo:
- Known for its ease of use and wide coverage, Airalo offers various data plans for Bali and Indonesia.
- You can choose from different data packages depending on your needs, whether it’s a short trip or a long stay.
- Bikago:
- Bikago specializes in eSIMs for Bali, providing data plans that leverage the Telkomsel network, known for its extensive coverage in Indonesia.
- They offer a range of data options, and their service includes local customer support, which can be a big plus.
Comparison Table
| Provider | Data Plans | Prices | Network Coverage | Customer Support |
|---|---|---|---|---|
| Airalo | Various options for short and long stays | Varies based on plan | Wide coverage in Bali and Indonesia | Online support |
| Bikago | Tailored for Bali, multiple data options | Varies based on plan | Strong coverage with Telkomsel network | Local customer support available |
How much does an eSim for Bali cost?
The cost varies depending on the duration and amount of GB in your package is. You can choose to have 1GB for 1 week for as low as 5 euro. or do you want more like 10GB for 30 days is about 22,50 euro. Based on your normal usage, I would suggest to choose a little more GB than that.
User Experiences and Recommendations
- Airalo: Many users have praised Airalo for its reliability and coverage. One user mentioned how it worked perfectly in different parts of Bali, including more remote areas. The ease of setup and activation was also a highlight.
- Bikago: Users have appreciated Bikago for its local focus on Bali. The convenience of having a data plan specifically designed for the region and the local customer support were points that stood out in user reviews.
In conclusion, both Airalo and Bikago come highly recommended by travelers who’ve used their services in Bali. The choice between them can depend on your specific needs, like the length of your stay and the amount of data you’ll need. Remember, a good eSIM provider not only offers great coverage but also makes your travel experience smoother and more connected.
Buying an eSIM for Bali: A Step-by-Step Guide
Getting an eSIM for your Bali trip is straightforward. Here’s a simple guide on how to purchase and set up your eSIM, along with some handy tips to make sure everything goes smoothly.
How to Purchase an eSIM Online
- Choose Your Provider: Start by picking an eSIM provider. Airalo and Bikago are popular choices among travelers to Bali. Check out their websites to compare plans and prices.
- Select a Plan: Once you’ve chosen a provider, select a data plan that suits your needs. Consider how long you’ll be in Bali and how much data you think you’ll use.
- Make the Purchase: Buy the eSIM plan on the provider’s website. You’ll typically need to create an account and provide some basic information.
- Receive Your QR Code: After purchasing, you’ll get a QR code. This code is key to setting up your eSIM, so keep it handy.
Setting Up the eSIM Upon Arrival in Bali
- Connect to Wi-Fi: When you land in Bali, connect to a Wi-Fi network. This is important for the initial setup of your eSIM.
- Scan the QR Code: Go to your phone’s settings and look for the option to add a cellular plan. Scan the QR code provided by your eSIM provider.
- Follow On-Screen Instructions: Your phone will guide you through the rest of the setup. It’s usually just a few simple steps.
- Choose Your eSIM as the Primary Data Line: Make sure to set your eSIM as the primary data line if you’re also keeping your home SIM for calls.
Tips for Ensuring Compatibility and Avoiding Common Issues
- Check Phone Compatibility: Before purchasing an eSIM, make sure your phone is unlocked and compatible with eSIM technology.
- Understand Data Limits: Be clear about how much data your plan includes and what happens if you exceed it.
- Keep Your QR Code Safe: Don’t lose the QR code. You’ll need it for the setup, and it can only be used once.
- Test Before You Travel: If possible, try setting up and using your eSIM before you leave for Bali. This way, you can sort out any issues while still at home.
By following these steps, you can enjoy a smooth start to your Bali adventure with your eSIM keeping you connected. Remember, a little preparation goes a long way, especially when it comes to tech and travel!
Physical SIM vs. eSIM in Bali: Making the Right Choice

When you’re heading to Bali, deciding between a physical SIM and an eSIM can be a bit of a puzzle. Let’s break down the situations where you might prefer a physical SIM, how to get one, and what customers have to say about their experiences.
When to Choose a Physical SIM
- Need for a Local Number: If you need a local phone number in Bali for calls and texts, a physical SIM is the way to go. eSIMs usually offer data only.
- Phone Compatibility: Not all phones support eSIMs. If your phone doesn’t, a physical SIM is your alternative.
- Longer Stays: For extended stays, a physical SIM might offer more flexible and cost-effective plans.
Buying and Setting Up a Physical SIM in Bali
- Where to Buy: You can buy a physical SIM card at the airport, local shops, or official telecom stores in Bali.
- Choose a Provider: Popular providers include Telkomsel, XL Axiata, and Indosat. Each has different plans and coverage.
- Registration Process: You’ll need to register the SIM with your passport. Some shops will do this for you.
- Activation: Once the SIM is inserted and registered, it’s usually activated immediately. You can top up with credit as needed.
User Experiences
- Coverage and Cost: Many travelers have found that physical SIMs offer good coverage and are quite affordable. Telkomsel, in particular, gets mentioned often for its extensive network.
- Ease of Purchase: Travelers frequently note that buying a SIM at the airport is straightforward, though slightly more expensive than in town.
- Flexibility: Users appreciate the flexibility of topping up credit for calls, texts, and data, especially for longer trips.
In summary, while eSIMs offer convenience and keep you connected from the moment you land, physical SIMs have their own advantages, especially for those needing a local number or staying in Bali for a longer period. Your choice will depend on your specific needs, phone compatibility, and the length of your stay. Both options have their merits, and many travelers have had positive experiences with each.
Tips for Using eSIMs in Bali

When it comes to data usage and coverage, it’s crucial to keep an eye on how much data you’re consuming. Tools like MyData Manager can be really helpful for this. Coverage in Bali is generally good, especially in popular areas like Ubud and Canggu, but it’s always a good idea to check the coverage map provided by your eSIM provider. To conserve your data, make use of Wi-Fi in hotels, cafes, and restaurants whenever you can.
If your phone supports dual SIMs, you can have both an eSIM and a physical SIM active at the same time. This setup is perfect for keeping your home number active while using the eSIM for data in Bali. You can easily manage which SIM you use for calls, texts, and data in your phone’s settings. This flexibility allows you to switch between your home and local numbers as needed.
It is suggested purchasing and setting up your eSIM before you arrive in Bali. This ensures that you’re connected right from the moment you land. It’s also important to choose an eSIM plan that suits your length of stay and anticipated data usage. Consider how often you’ll use data-intensive applications like maps and social media.
In case you run into issues with your eSIM, such as activation problems or connectivity issues, there are a few things you can try. Make sure you’re connected to Wi-Fi and that the QR code for your eSIM has been scanned correctly. If you’re facing connectivity problems, toggling airplane mode or restarting your phone can often resolve these issues. If your data seems to be running out faster than expected, check for any background apps that might be using data and adjust your settings accordingly.
By keeping these tips in mind, you can enjoy a smooth and connected experience in Bali with your eSIM. A bit of preparation and understanding of how to manage your eSIM can make a big difference in ensuring a trouble-free trip.
Conclusion
In conclusion, using an eSIM in Bali offers numerous benefits that can significantly enhance your travel experience. With the convenience of pre-purchasing and setting up your eSIM before arrival, you can enjoy immediate connectivity as soon as you land. This modern technology allows you to maintain your original phone number while accessing data services in Bali, making it easier to stay in touch with friends and family back home.
It’s important to consider both eSIMs and physical SIM cards based on your individual needs. While eSIMs provide a high level of convenience and efficiency, physical SIM cards might be a better choice in certain situations, especially if your device doesn’t support eSIM technology or if you prefer having a local phone number for calls and texts.
Ultimately, the choice between an eSIM and a physical SIM card should be based on your specific requirements, the compatibility of your device, and your communication needs while in Bali. By considering these factors, you can make an informed decision that ensures a connected and enjoyable trip to this beautiful Indonesian island.
Hi I am Dwi. I am a blogger, travel agent and a mom of a lovely daughter and wife to a supportive husband. I customize and plan tours in Bali and islands nearby for a living and have been doing this for more than 14 years. Get in touch via contact [at] taletravels.com